From Concept to Installation, The Journey of a Raw Urth Custom Range Hood:
What Builders Should Know
If you’ve ever wondered what it really takes to bring a custom metal range hood from concept to completion, this guide walks you through every stage; from the first sketch to final installation. For builders and designers, understanding our process helps you plan ahead, coordinate trades, and deliver a flawless, show-stopping custom range hood.
Behind the Build: What Every Builder Should Know About the Raw Urth Process
Every Raw Urth hood tells a story, and for builders, understanding that story makes the process smoother, the timelines clearer, and the finished kitchen that much more rewarding.
From the first conversation about design inspiration to the final day on site, there’s a rhythm to how a Raw Urth hood comes to life. Here’s a behind-the-scenes look at what to expect and a few pro tips to keep your build on track from start to finish.
(Typical project timeline: 10–12 weeks from deposit to delivery.)

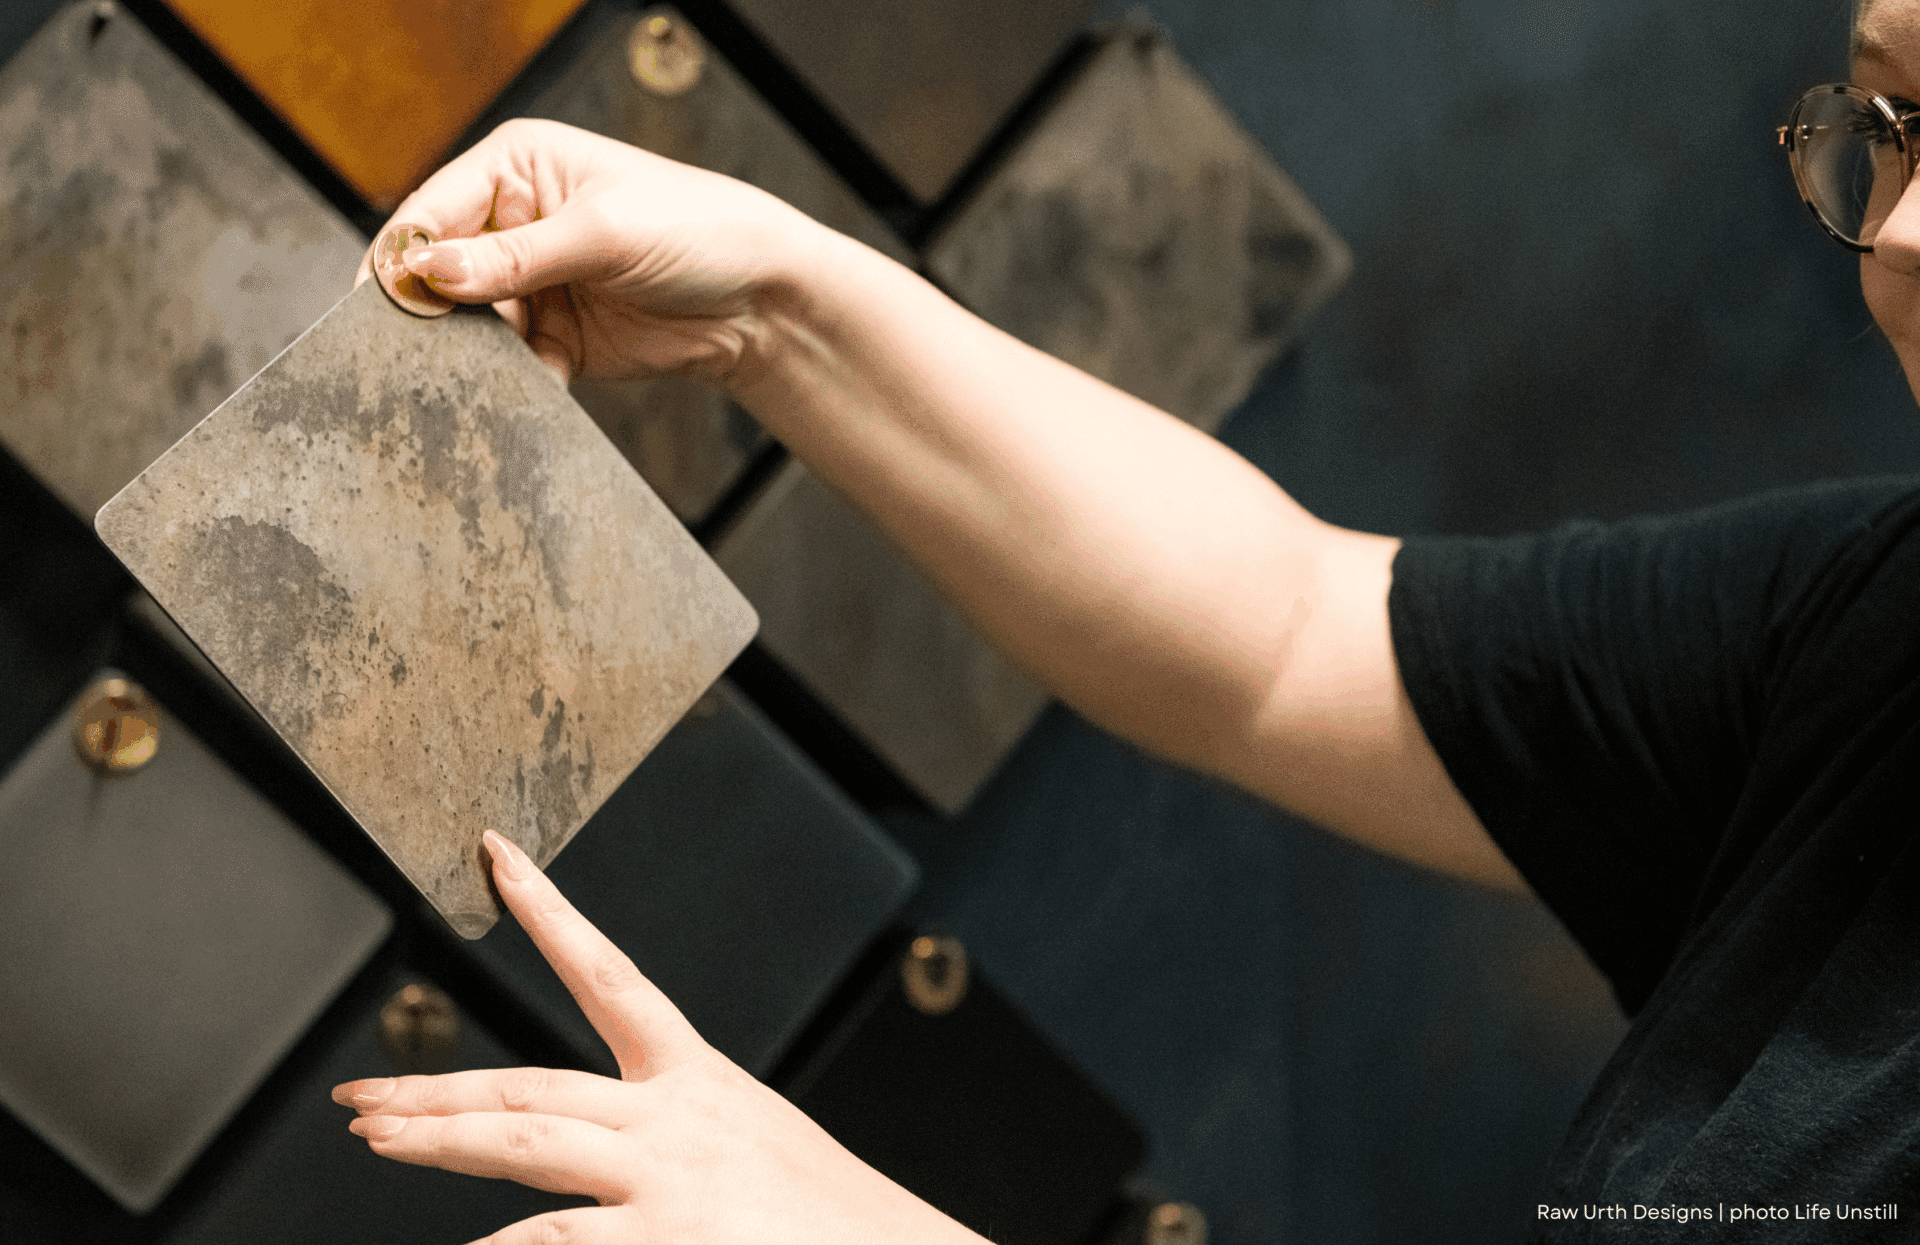
1. Concept & Collaboration: Setting the Vision
Every great custom range hood begins with a conversation.
Whether you know exactly what your clients want, or are looking for some design direction or inspiration, our design team hops on a call to talk through your concept; the look, the feel, and the function you’re after. Together, we’ll explore design styles, metal options, and patina finishes that complement the space and the rest of the build.
We also help you set a preliminary budget and overall timeline so expectations are clear from the start.
Builder Tip
This is the perfect moment to flag any potential challenges, think venting runs, soffits, or beam placements. A quick conversation early on can save hours of rework down the line.
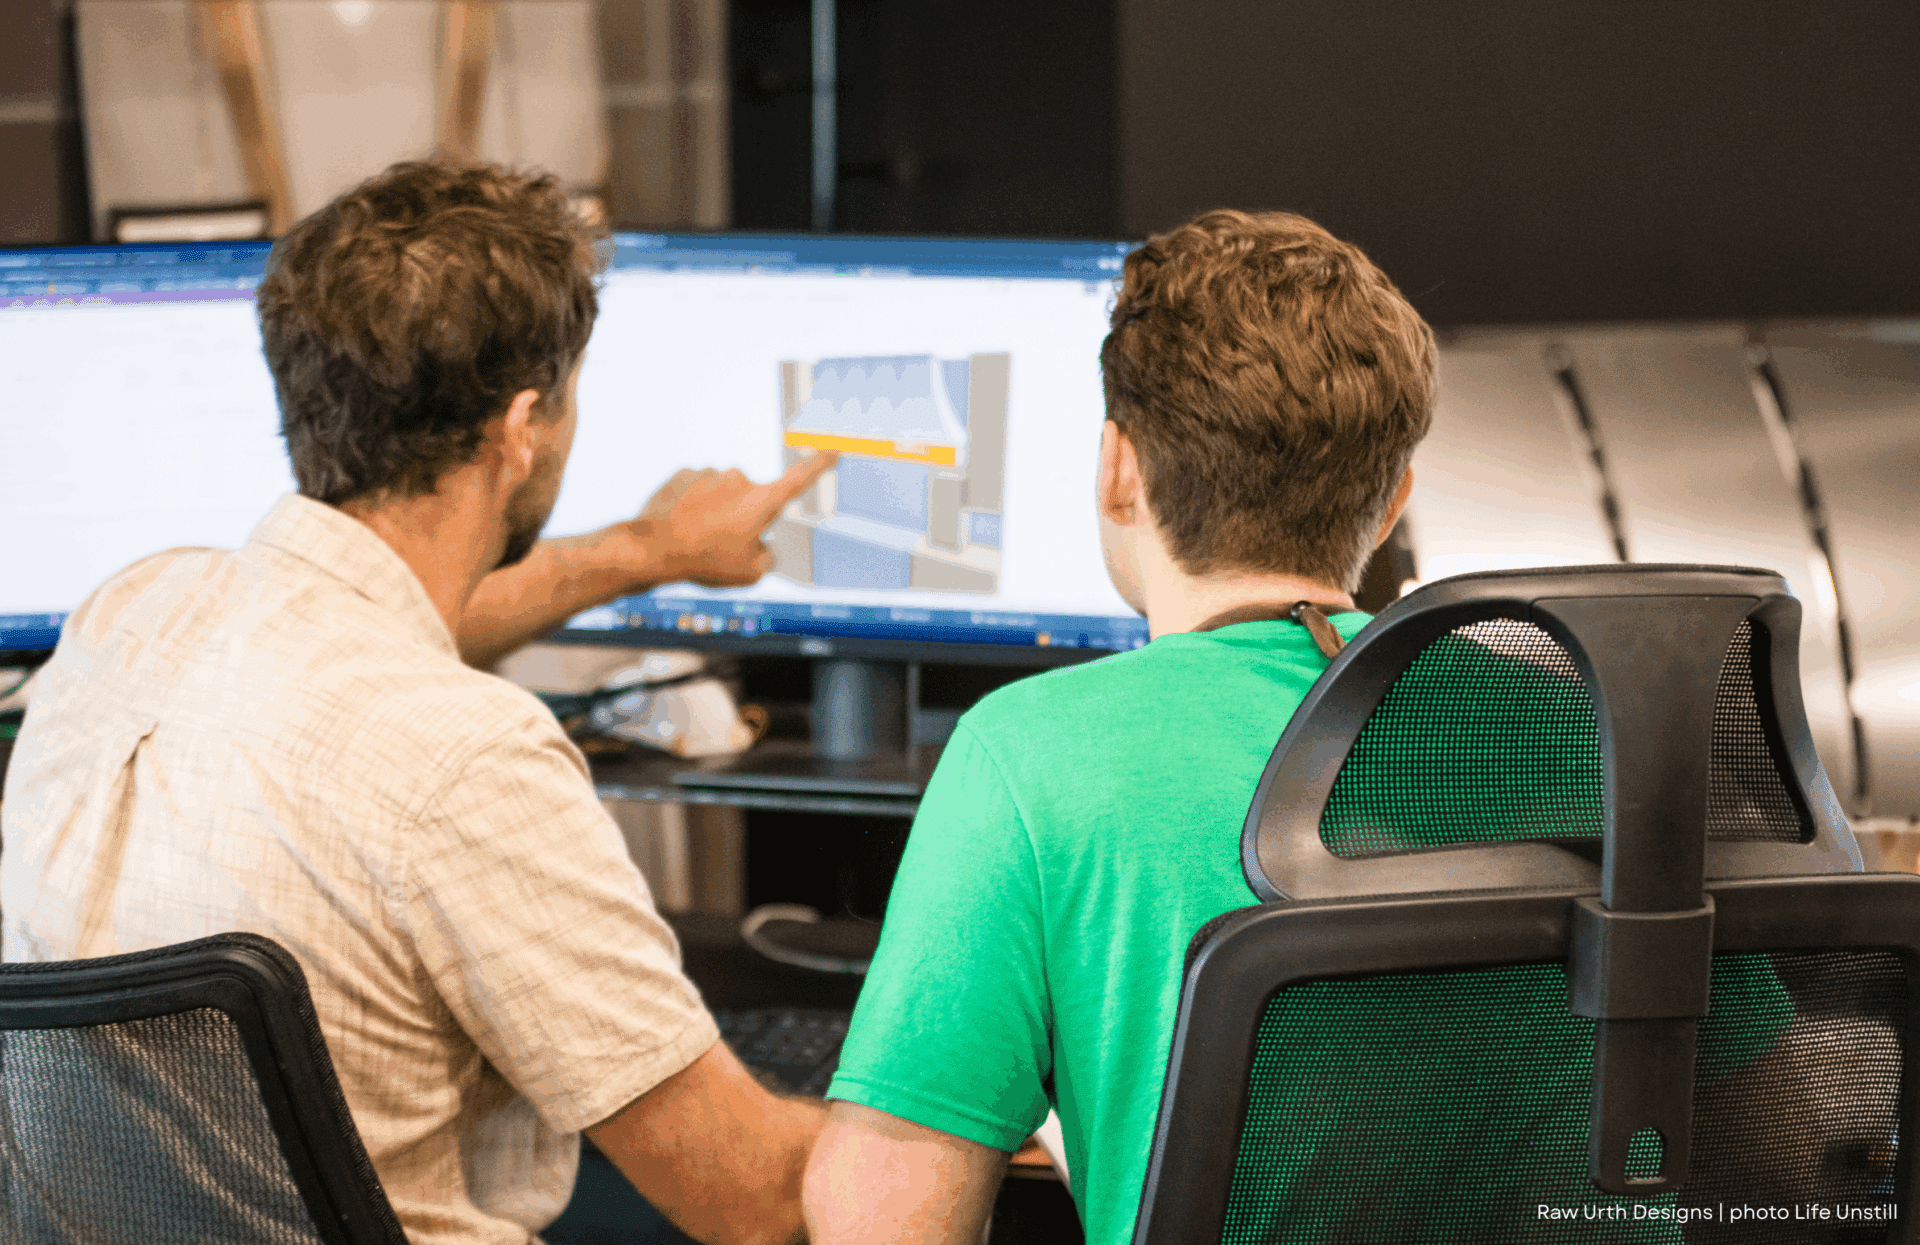
2. Drawings & Design Development: Turning Ideas into Blueprints
Once the concept is locked in, our design team gets to work on detailed drawings.
This is where your hood truly starts to take shape. We’ll map out every measurement and consider all the technical elements: venting, ducting, cabinetry alignment, beams, and ceiling height. There’s a bit of back-and-forth at this stage, a collaboration between you, our team, and your trades, until every line feels right.
After approvals, the final shop drawings are confirmed, and your project moves into the fabrication queue.
Builder Tip
Share these drawings with your cabinet maker, HVAC team, and framer. The more eyes on it now, the smoother install day will be later.
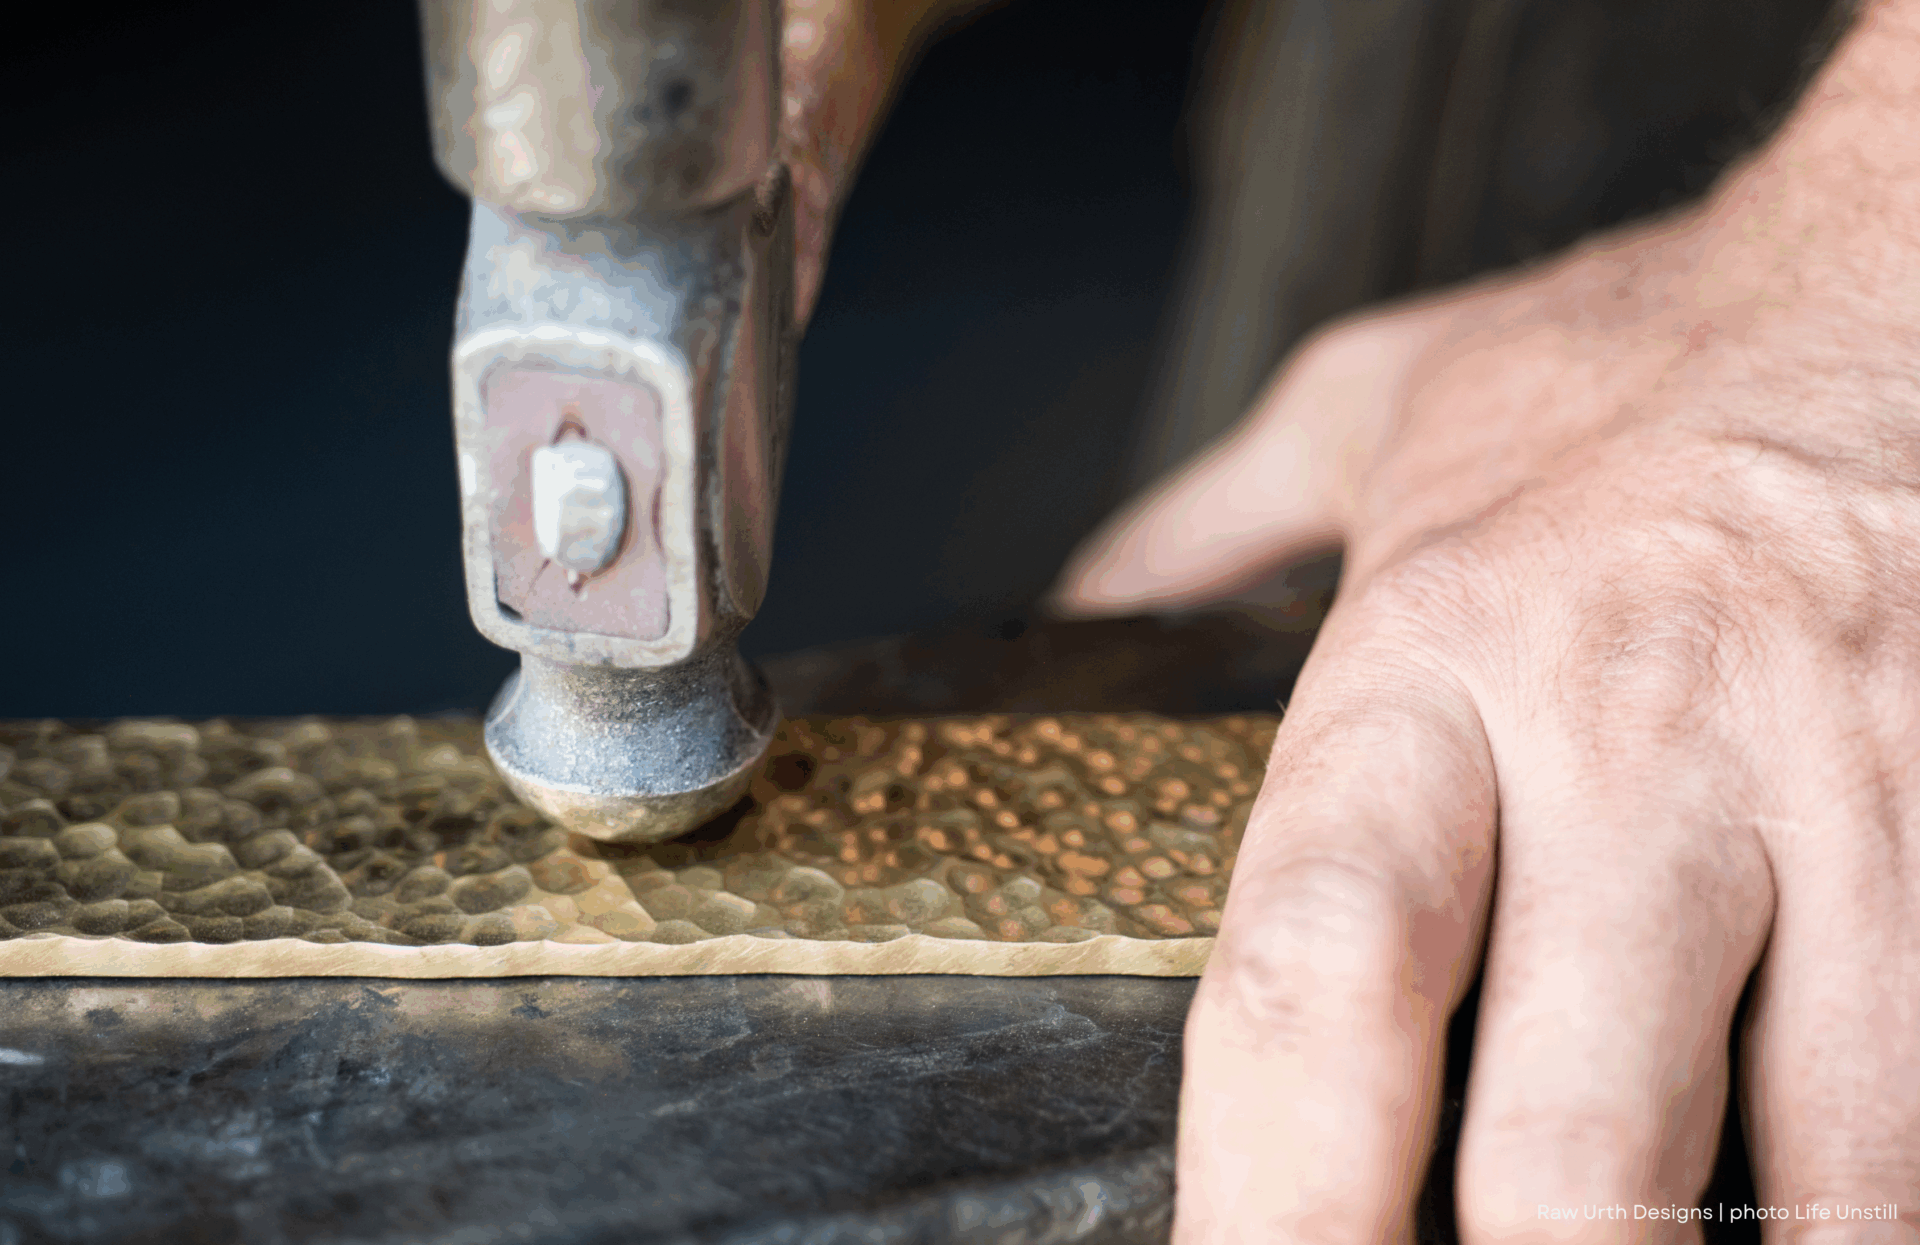
3. Fabrication & Finishing: Where Craftsmanship Meets Precision
Once your custom range hood design is finalized, it’s time for the magic to happen in our Colorado workshop.
We start by ordering materials and cutting each part to spec. From there, the hood is hand-crafted on the fabrication table, inspected for accuracy, and sent through quality control before moving into the finishing department. Because of the nature of metal work, we do allow for a 1/16″ tolerance for our final measurements.
Our artisans then bring your chosen patina or texture to life, applying every finish by hand, because the final look deserves as much attention as the metals beneath it!
When your hood nears completion, you’ll receive an update email confirming delivery and shipping details, along with the an invoice requesting the remaining balance for the job. Fabrication typically takes 6–8 weeks once approval drawings have been signed, and it hits the shop floor. Some more complicated custom range hoods can extend this lead time. Not to worry, we will tell you up front if yours is one that takes a little extra time to get right!
Pro-tip For Our Builders While We’re Building Your Hood
- Install blocking in the wall for support
- Finish painting and drywall
- Check wall and ceiling for level and plumb
- Clear the installation area
- Remember: the hood should be the last thing to go in (except the stovetop)
4. Delivery & Installation: The Final Reveal
After fabrication, your hood is carefully packed and shipped in a custom crate, delivered curbside to your site.
Before delivery, you’ll receive an email with the hood’s weight and handling details, so you can plan the right equipment and crew for the job. It’s recommended to have a square-drive screwdriver in hand to make uncrating easy:
- Remove the top of the crate first being careful of the hood inside
- Take off the sides of the crate
- Release the hood from the base by removing bolts through the back of hood into pallet
- Always wear gloves, and remove belts, to protect the finish
If your project site is within about seven hours of our shop, we also offer delivery and installation services. We’ll come to you and make sure it’s done right!

Need guidance?
Download our [Installation Help PDF]
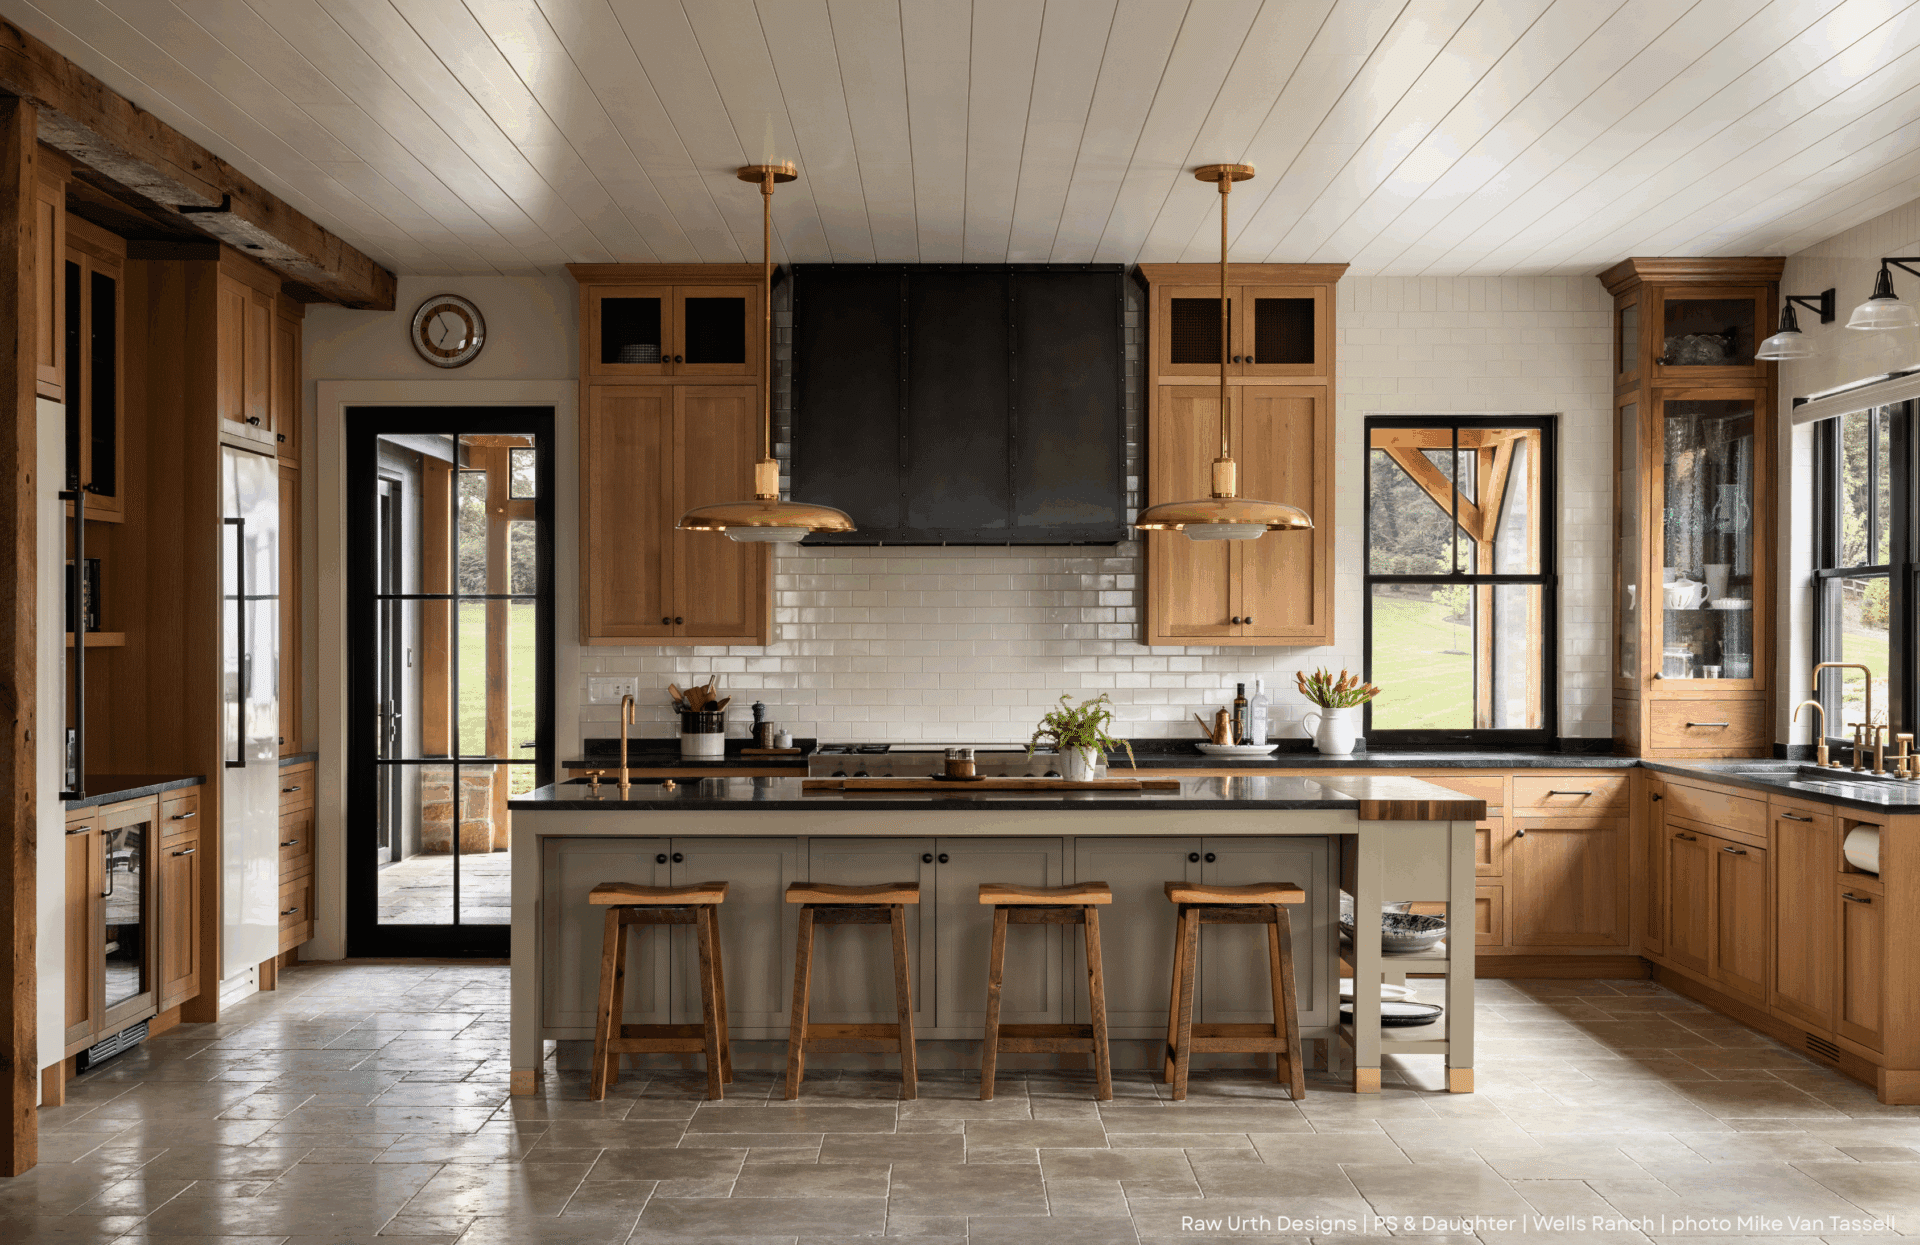
5. The Payoff: Craftsmanship That Completes the Kitchen
When it all comes together, the drawings, the finishes, the site prep, you’re left with a piece that’s more than functional. It’s a handcrafted centerpiece that brings the whole kitchen to life. And, as we all know, the kitchen in the heart of the home. This is the place to really let your style shine!
For builders, understanding the Raw Urth journey means every step, from planning to installation, goes off without a hitch. And for homeowners, it means they get a show-stopping, one-of-a-kind custom range hood that sets them apart in a world where so much feels mass-produced.
When craftsmanship meets collaboration and great design, everyone gains a sense of pride of what we humans can do together!
Ready to start your own custom hood journey? Get in touch with our design team to bring your next kitchen project to life, one handcrafted detail at a time.